Tools needed:
- 9/32" socket 1/4" drive
- 1/4" drive ratchet
- 5.5mm socket 1/4" drive
- 3" or 6" extension 1/4" drive
- Stubby phillips head screwdriver
- Your fingers
Lets get started:
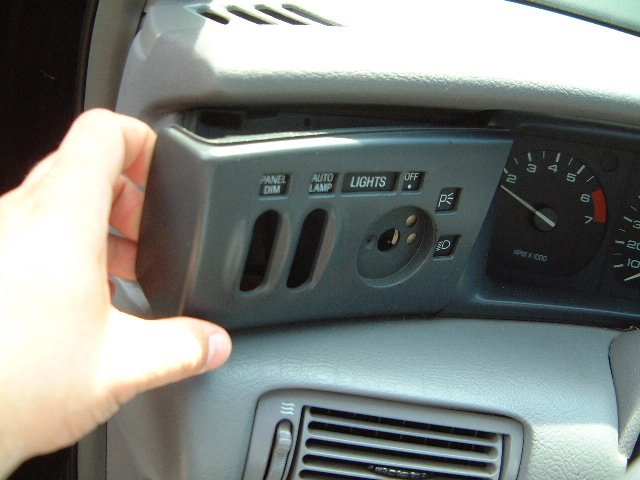
Start by removing the headlight knob.

-
Then remove the headlight control surround by prying (with your fingers) gently from the far left side of the panel, but be VERY, VERY careful when removing this panel, there is a light that attached to the back of the panel...remove the light by twisting it and pulling it out.
-
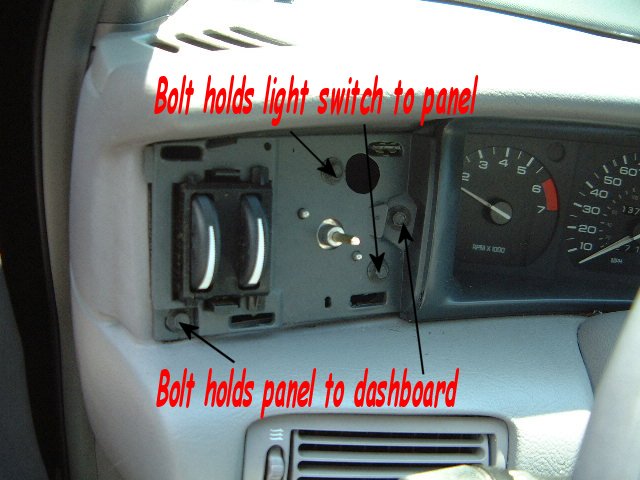
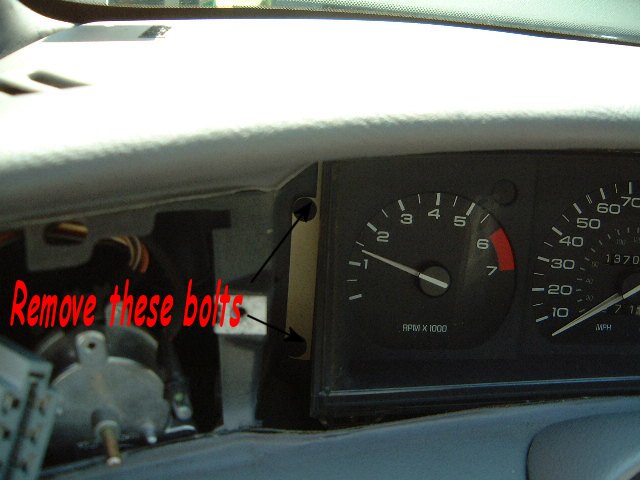
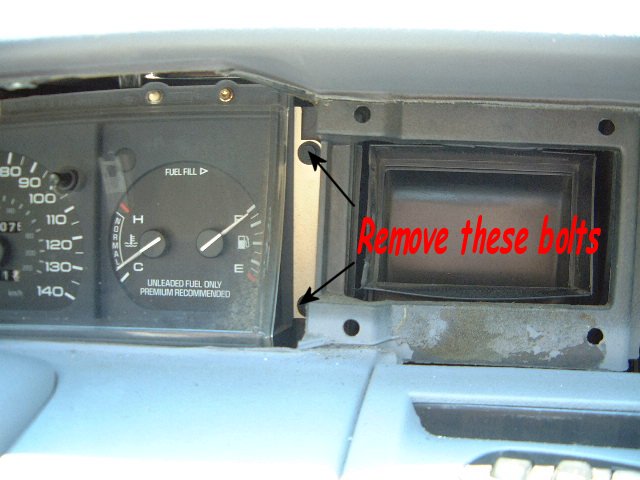
Now remove the two 9/32" bolts that hold the cluster surround to the dash, and the two 9/32" bolts that hold the headlight switch in place.
-
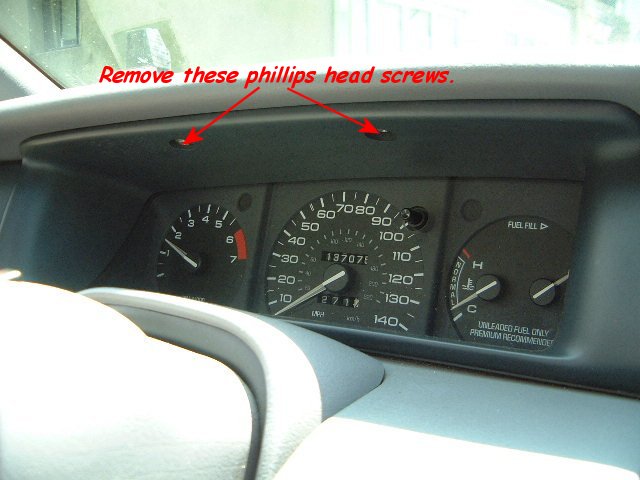
Now remove the 2 phillips head screws that are just above the gauge cluster that hold the cluster surround to the dash.
-
Pull the far left side of the cluster surround and unplug the dimmer/auto lamp switch.
-
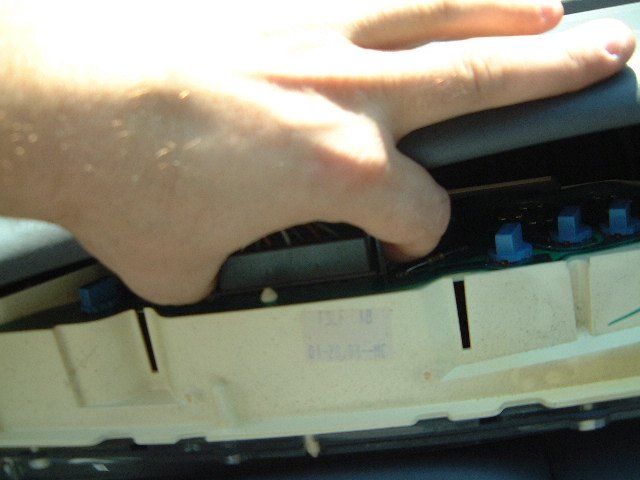
Gently and easily pry the cluster surround away from the dash board.....be careful not to pry the wrong way or you may break your surround. *Note 1
-
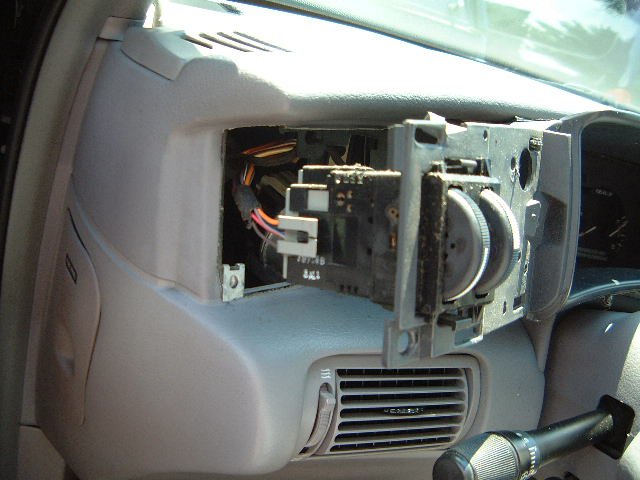
Now remove the four 9/32" (this is where the extension comes into play) bolts (be careful not to lose them when removing) that secure the gauge cluster to the dash board.
-
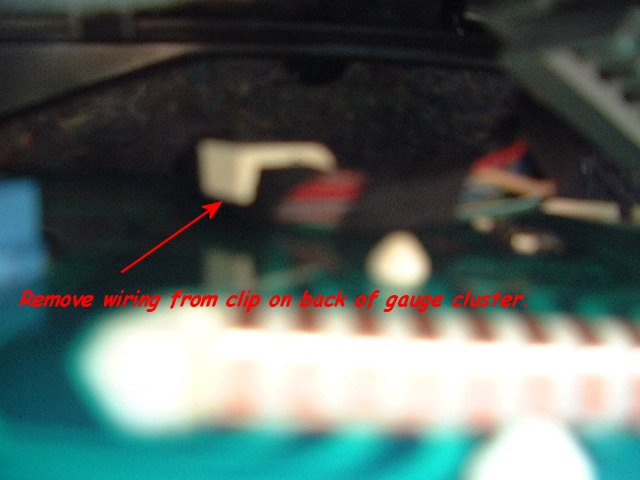
Pull the gauges towards you starting at the top....lay the gauges face down and remove the cable behind the gauge cluster by squeezing the 2 tabs together.
Submitted by:* Note 1 - You can gingerly pop out the vents on the cluster surround with a small headed flatblade screw driver. Make sure to wrap the head of the screw driver with Electrical tape so it doesn't damage the surfaces that it will make contact with. After the Vents are removed you can then EASILY reach into the void and "pop" the trim out.
Author:
Return to TechnicalRay Urso (drgnfrm) wykdmk8@hotmail.com