Neon Light General Questions
(1997 and 1998 Generation II tail light assembly)
P/N F7LY 13A565 AAA thru AAF
Moisture (Impurities) is the number one reason for the inverter (ballast) to fail. For reliability reasons all moisture must be removed before any inverter is replaced.
Each inverter (ballast) has two circuits, one to start the neon glow and the other to maintain the glow. Because of the internal circuitry, the ballast can not be tested like one would think.
As long as there is power and ground going to the inverter and the neon bulb is not broken (Glass inside the light housing) Then in most cases a new inverter will solves the problem.
Ground Screw on the base plate for the inverter: (Wire Mesh)
This ground screw is for EMI
purpose. (Radio interference) and has no affect on neon operation other then shorting the inverter if water is inside the housing.
(It has been found to be most desirable to disconnect and insulate the wire mesh from any metal structure or ground)
There are two fuses in the system, Fuse #31 is for the parking lights and fuse #32 is for the brake lights. On the average, if you are experiencing symptoms similar to item #8 below; check both fuses for condition.
************************************************************************************************
The following questions are asked to help determine your light condition.
1. What area of the country do you live in? (Does it rain often?) See item #2
2. Is there water or moisture inside the light?
(This is a sign to add drain/ vent holes)
3. Does the neon bulb flash at all when brakes are applied?
(This could be a bad connection or a sign of an inverter gone bad)
4. Can you see a glow from the bulb ends when the parking lights or brakes are applied? 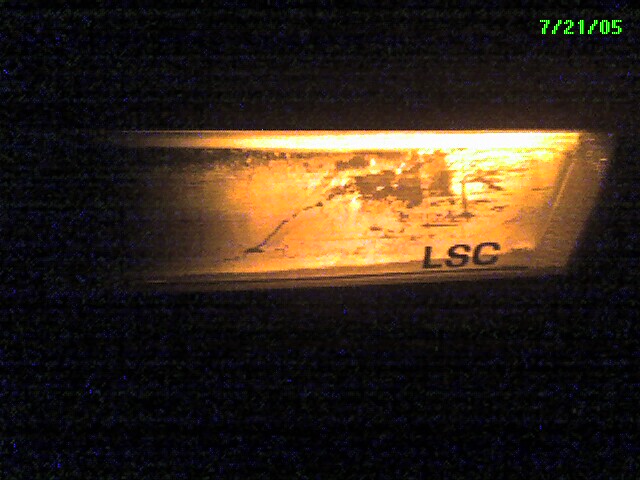
(This is a sign of an inverter gone bad)
5. Behind the trunk lid cover is the inverter input connector, (Three wire) Do you have power and ground?
(9.5v min is needed to power the inverter)
6. Does the reflector have what looks like mold or black lines inside?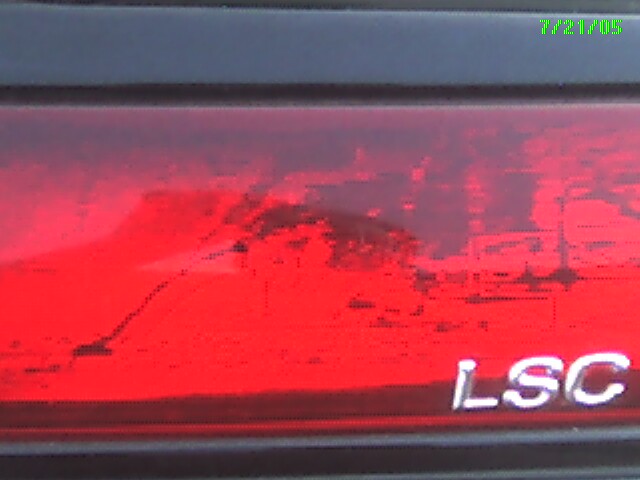
(This is a sign of moisture; Recomendation: Add drain/vent holes)
7. Do you see any glass inside the light?
(Does the glass look Cylindrical in shape?; if it does you will have to open the housing to replace the bulb)
Testing the bulb: Have a local neon shop hook up one of their inverter while the light is on the bench. Most shops have inverters that put out 2000-5000v with variable current. This device is perfect for testing the bulb. Alternate method: Most neon shop also have a high voltage wand. This wand can be used if the bulb has been removed from the housing. Check with your local neon shop to see of they can help.
8. If your tail light fuses are blowing; Disconnect the inverter connector and replace the fuses. Does the lights now work normaly?
(If yes, This is a sign that your inverter has gone bad)
9. Does your light have issues with cooler temperatures. Or maybe the neon just stops working when the temperature drops.
This is a sign that the inverter (Ballast) has been weakened or damaged.
10. Intermittent light or flickering light: Check the condition of the wires that run past the trunk lid arm. Also check the male side pins at the inverter connector. These pins have been found corroded and needed to be cleaned and re-tined.
The Do List.
11. Perform the following steps:
- Disconnect the wire mesh for the base plate
- Protect the mesh from coming in contact with any metal structure
- Or cut the mesh metal off
- Extract the pins from the three wire (ballast) connector
- Scotch bright the pins
- Re-tin the pins with a light coating of solder
- Without the outer plastic connector, plug the male pin into the other connector half.
Does the neon works normally?
- If it does, re-assemble the connector
- If it does not work, proceed to step #13 below
NOTE: Tarnish is what I have found is building up on the contact surface; preventing electrons from flowing from the female pins to the male pins. This is why I mention re-tinning the male pins.
************************************************************************************************
12. Internal shorts:
This condition is not normally seem unless you seperate the housing to gain access to the bulb ends.
Internal shorts is a tricky one to discribe. So the best way to do this is to show you . 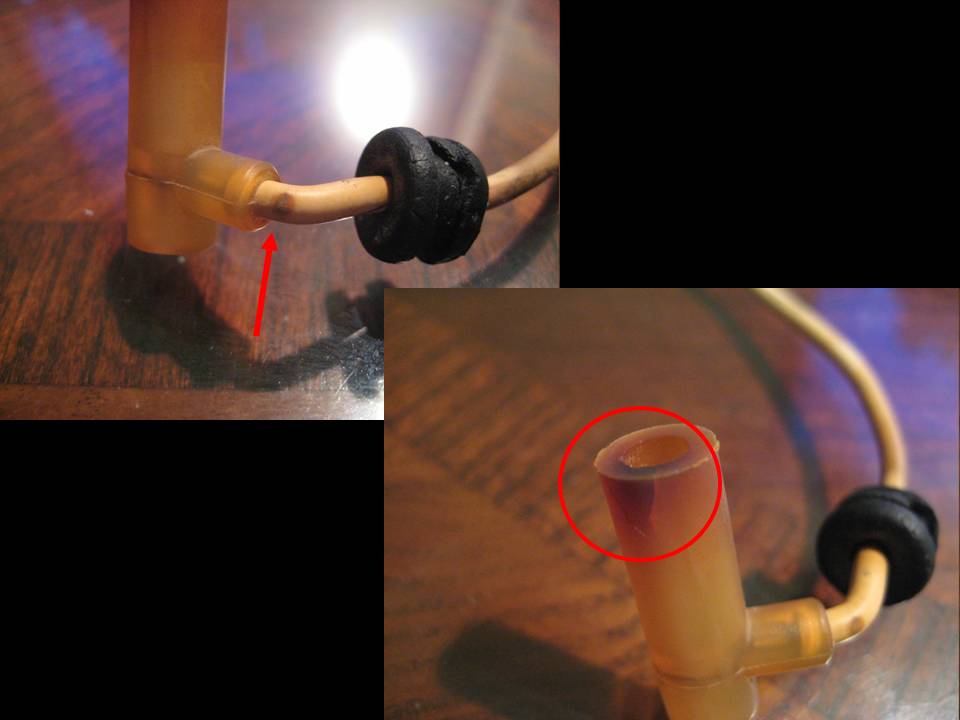
I can not say that all ballasts are damaged by internal shorts. However there are only two ways that damage them.
Shorts and Heat.
************************************************************************************************
13. Think about doing the following steps before replacing another inverter.
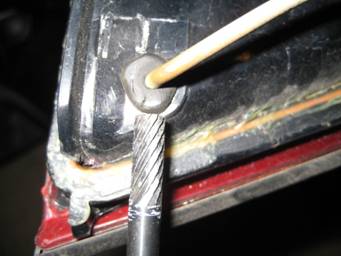
Without cutting the housing open; the attached are steps that I am developing in preventing arching from the input (GTO) wires.
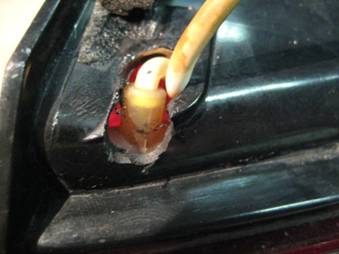
Pull the rubber gourmet out
- use a ¼ inch cutter; trim into the housing
- Pull the excess of the GTO wire out
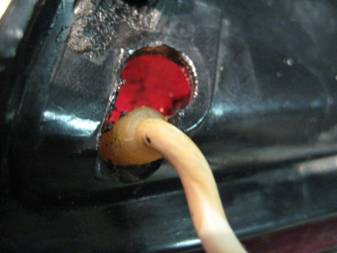
- Put small amount of silicon calking in and around boot
- Glue the hole closed
- Tape over area to act like a water shield
- Using electrical tape; tape a 4X12 inch section of the trunk lid in the area were the GTO wires pass thru the light housing. (from the edges, inward)
- Use two additional (6 to 8 inch) sections of GTO Sleeve; cut an 1/4 inch wide 1/2 inch deep notches in one end.
- With the notched end first; slide the sleeve over the section of GTO wire that enters the housing. Make sure the GTO sleeve overlaps the rubber grommet area.
- Now you’re ready to replace the inverter
************************************************************************************************
I have noted four failure modes for the inverters.
1. Dead inverter, Does nothing
2. Internal short that blows fuses
3. Damaged internal circuit; bulb glows but does not fully light
4. Light housing that shorts the inverter to ground (Moisture inside)
Out of the four modes, #2 is on the rise. Providing there is no condition to see mode #4; A simple inverter replacement will have your neon working again. As for #4; This is why I ask if the neon light can bench check. If too much current drain is noted from inside the housing, a replacement inverter will be damaged. High current can only be fixed if the housing is open up. (Requires cutting)
***********************************************************************************************
I just want to say thank you to all that I have been able to help.
Read what people are saying: